> ## Documentation Index
> Fetch the complete documentation index at: https://docs.zayo.com/llms.txt
> Use this file to discover all available pages before exploring further.
# How to Use Web Filtering
> Learn what web filtering is and how to configure it to control web traffic in the DynamicLink portal.
## What is Web Filtering?
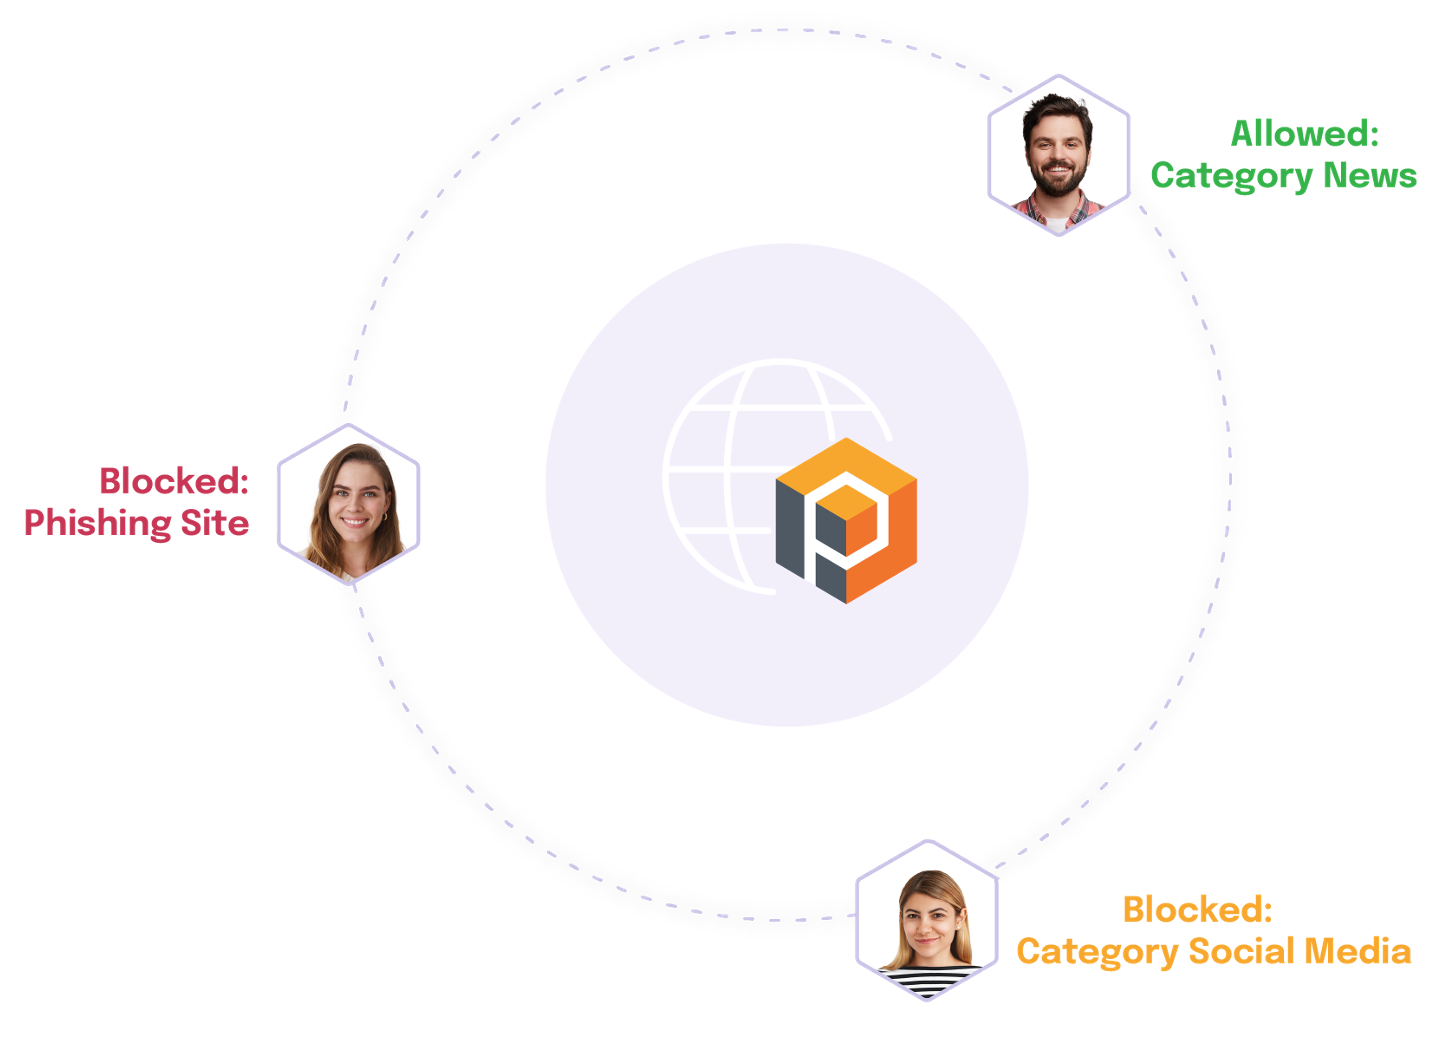
Web filtering, when enabled as a service for a tenant in the platform, provides granular control over web traffic by allowing you to define policies to either block or permit access to specific URLs or categories of web content.
It integrates with your firewall rules, adding a third action option for managing web traffic. You can also configure general company-wide web access policies via the general Web Filter Service.
***
## How to Use Web Filtering in the DynamicLink Portal
To configure web filtering, follow these steps:
### Step 1: Enable Web Filter Service for the Tenant
Before you can use web filtering in your firewall rules, the service must be enabled for the specific tenant.
1. Navigate to the **Tenants** menu (usually found at the bottom of the navigation panel).
2. Locate the desired tenant in the list.
3. Click the **pencil icon (edit)** next to the tenant's entry to access their settings.
4. Ensure that **Web Filter** is enabled under the **Services** section.
### Step 2: Configure Web Filter Rules within Firewall Rules
Once the Web Filter Service is enabled, a new action option will be available when creating or editing Firewall rules, allowing you to apply a web filter policy.
***
#### Option A: Default Filter Action "Block" (Allowlist Only Selected URLs)
Use this approach when you want to block all web traffic by default and only permit access to a specific list of URLs.
1. **Access Firewall Rules:**
* Navigate to the **Services** menu (bottom).
* Select **Firewall**.
* Click the **Add** button to create a new firewall rule, or select an existing rule to edit.
2. **Set Default Filter Action:**
* Within the firewall rule configuration, locate the **Default filter action** setting.
* Choose **Block**.
3. **Specify Allowed URLs:**
* A field will appear where you can enter the URLs that are permitted. You can add multiple URLs.
> **Valid URL Formats:**
>
> * `google.com`: Matches the exact URL.
> * `*.google.com`: Matches any URL ending with `.google.com` (e.g., `mail.google.com`).
> * `*google.com`: Matches any URL containing `google.com` (e.g., `mygoogle.com`).
> * `www.google.*`: Matches any URL starting with `www.google.` (e.g., `www.google.co.uk`).
>
> **Invalid URL Formats:**
>
> * `*.google.*`
> * `www.*.google.com`
> * `www.*google.com`
4. **Save the Firewall Rule.**
***
#### Option B: Default Filter Action "Allow" (Blocklist Selected URLs/Categories)
Use this approach when you want to allow most web traffic by default but block specific URLs or categories of content.
1. **Access Firewall Rules:**
* Navigate to the **Services** menu (bottom).
* Select **Firewall**.
* Click the **Add** button to create a new firewall rule, or select an existing rule to edit.
2. **Set Default Filter Action:**
* Within the firewall rule configuration, locate the **Default filter action** setting.
* Choose **Allow**.
3. **Configure Additional Filtering Options:**
* **Allow only HTTPS traffic with valid SNI**: Check this option to block HTTPS traffic on Port 443 that does not include a valid Server Name Indication (SNI).
* **Content Filter**: Select categories of web content you wish to block (e.g., social media, adult content).
* **Web Threats Filter**: Choose categories of web threats to block (e.g., malware sites, phishing).
* **Block**: Manually enter specific URLs you want to block.
* **Allow**: Manually enter specific URLs to allow. This acts as an exception list, overriding blocks from the content filter categories.
4. **Save the Firewall Rule.**
***
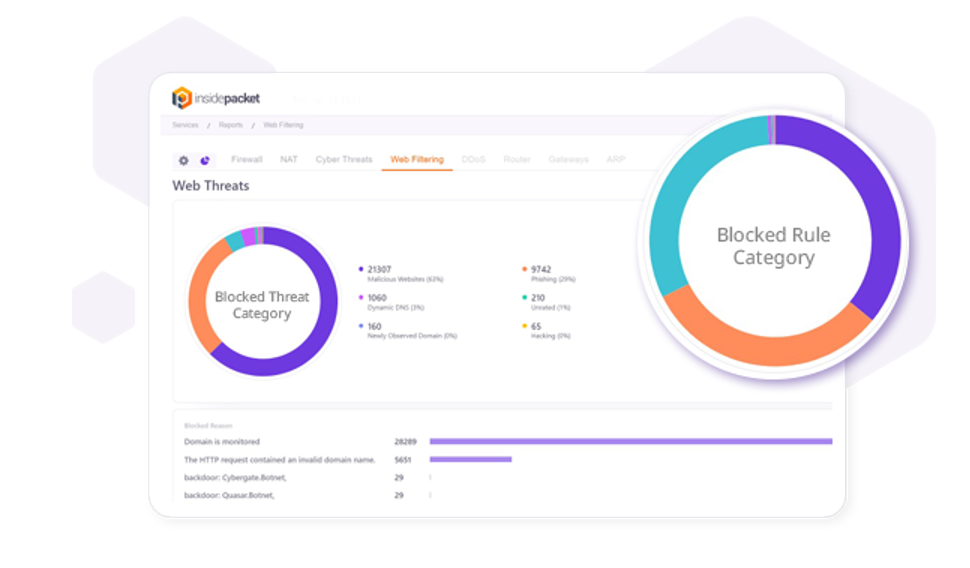 ### Step 3: (Optional) Configure General Web Filter Service Policies
If the main firewall service is disabled for a tenant, you can still use the general Web Filter Service to create company-wide web access policies.
1. Navigate to the **Services** menu (bottom).
2. Select **Web Filter Service** (or a similar option if available separately from the firewall).
3. Configure the desired general web filtering policies as needed.
### Step 3: (Optional) Configure General Web Filter Service Policies
If the main firewall service is disabled for a tenant, you can still use the general Web Filter Service to create company-wide web access policies.
1. Navigate to the **Services** menu (bottom).
2. Select **Web Filter Service** (or a similar option if available separately from the firewall).
3. Configure the desired general web filtering policies as needed.