

- Allow All outgoing: All outbound traffic is allowed by default
- Deny All incoming: All inbound traffic is blocked by default
Prerequisites
Go to Services > My Services and ensure the DIA Firewall and (optionally) Web Filtering services are enabled. If you want to be able to apply rules to a pre-defined group of IP addresses, you should first create a Group to represent those subnets.Create a DIA Firewall rule
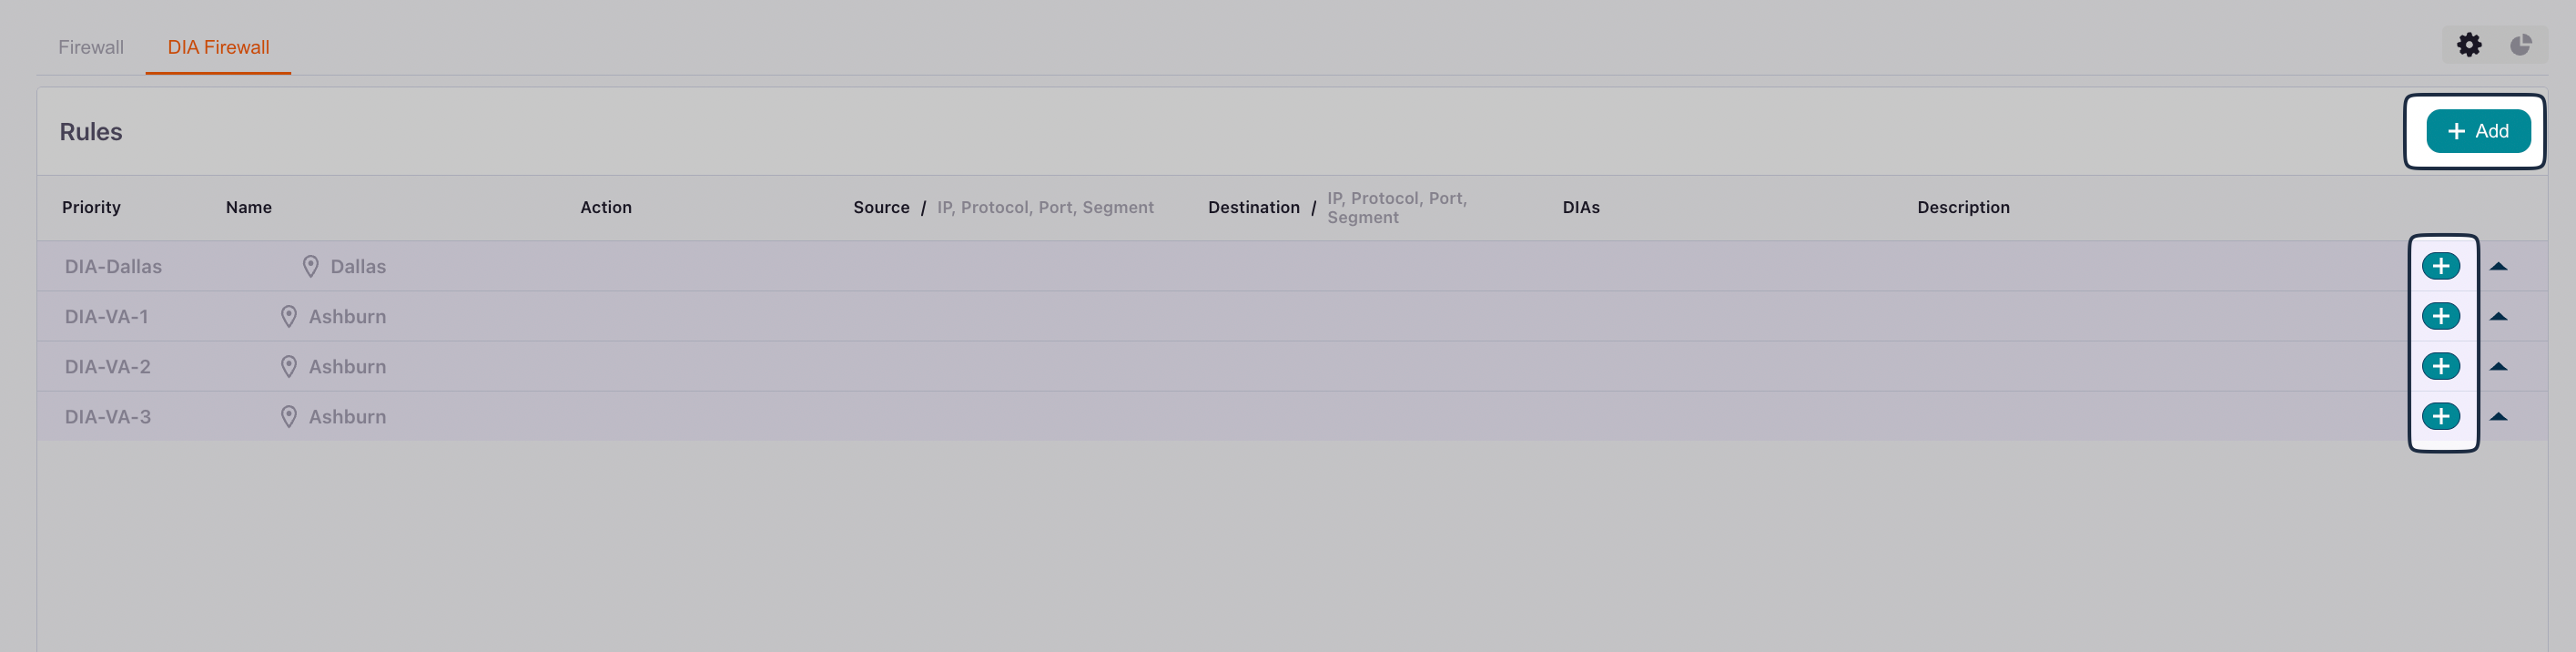
Select Services > DIA Firewall from the bottom menu: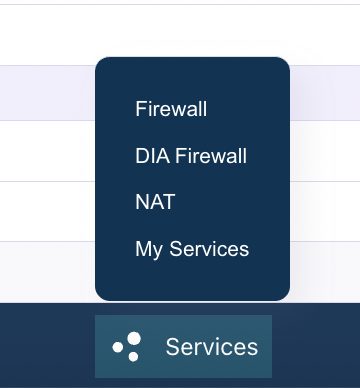
- Click Add in the upper right to create rules that you want to apply to multiple DIA connections.
- Click the add icon next to a connection to create rules that are specific to that connection.
General
Rule
Your options change slightly depending on whether you are creating a rule for an individual connection or for multiple connections. Your options also change depending on whether you are creating a rule for Incoming traffic or Outgoing traffic.Incoming rule
Select Incoming to create a rule for a traffic source (where the traffic originates before entering your network):Outgoing rule
Select Outgoing to create a rule for a traffic destination (where the traffic goes when leaving your network):Understanding rule processing
It’s important to understand how firewall rules are processed:- Priority-based execution: Rules are processed in order of priority, starting with the lowest number. The first rule that matches the traffic is applied
- Logical AND condition: All filters within a single rule (Source, Destination, Port, Protocol, etc.) are combined with a logical AND. This means all specified conditions must match for the rule to be triggered
- First match wins: Once a rule matches the traffic, its action is applied and no further rules are evaluated for that traffic
Common use cases
Allow inbound SSH access
To allow SSH access from a specific IP range:- Name: “Allow-SSH-From-Office”
- Priority:
100 - Direction:
Incoming - Action: Allow
- Protocol:
TCP - Source:
203.0.113.0/24(your office IP range) - Destination Port:
22 - DIA Connection: Select your DIA connection
Allow inbound web server traffic
To allow HTTP and HTTPS traffic to your web server:- Name:
Allow-Web-Traffic - Priority:
100 - Direction:
Incoming - Action: Allow
- Protocol:
TCP - Source:
0.0.0.0/0(all IPs) or a specific IP range - Destination Port:
80,443(HTTP and HTTPS) - DIA Connection: Select your DIA connection
Block outbound traffic to specific destinations
To prevent outbound connections to specific IP ranges:- Name:
Block-Outbound-Malicious-IPs - Priority:
50(higher priority to ensure it’s checked first) - Direction:
Outgoing - Action:
Block - Protocol:
Any - Destination:
192.0.2.0/24(the IP range to block) - DIA Connection: Select your DIA connection
Best Practices
- Start with restrictive rules: Begin with the default deny-all-incoming policy and only open what you need
- Use descriptive names: Name your rules clearly so you can understand their purpose later
- Set appropriate priorities: Use lower priority numbers for more specific rules that should be checked first
- Document with descriptions: Use the description field to explain why a rule exists
- Test incrementally: Add rules one at a time and test to ensure they work as expected
- Regular review: Periodically review your firewall rules to remove unused or outdated configurations
- Use IP Groups: For frequently referenced IP ranges, create IP Groups to simplify rule management
Troubleshooting
If your firewall rules aren’t working as expected:- Check rule priority: Ensure your rule has an appropriate priority and isn’t being overridden by another rule
- Verify direction: Confirm you’ve set the correct direction (Incoming vs. Outgoing)
- Review all conditions: Remember that all conditions in a rule must match (logical AND)
- Check Admin State: Ensure the rule is enabled
- Verify DIA connection: Confirm the rule is applied to the correct DIA connection
- Test with specific IPs: Start with specific source/destination IPs before using broad ranges like
0.0.0.0/0
Related Documentation
- DIA Overview - Learn about Dedicated Internet Access
- Create a DIA Connection - Set up a new DIA connection
- Firewall Rules - Stateful firewall configuration
- Groups - Create IP Groups for firewall rule management