

- DIA Firewall - This service is specialized for internet traffic flowing through DIA connections.
- Firewall - This service handles internal network traffic.
Prerequisites
Go to Services > My Services and ensure the Stateful Firewall and (optionally) Web Filtering services are enabled. If you want to be able to apply rules to a pre-defined group of IP addresses, you should first create a Group to represent those subnets.Create a Firewall rule
Select Services > Firewall from the bottom menu: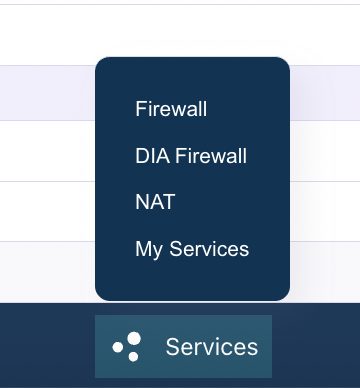
General
Rule
Understanding rule processing
It’s important to understand how firewall rules are processed:- Priority-based execution: Rules are processed in order of priority, starting with the lowest number. The first rule that matches the traffic is applied
- Logical AND condition: All filters within a single rule (Source, Destination, Port, Protocol, Virtual Interface, etc.) are combined with a logical AND. This means all specified conditions must match for the rule to be triggered
- First match wins: Once a rule matches the traffic, its action is applied and no further rules are evaluated for that traffic
Common use cases
Allow traffic between network segments
To allow specific traffic between internal network segments:- Name: “Allow-Web-Traffic-Office-to-Servers”
- Priority:
100 - Action: Allow
- Protocol:
TCP - Source:
192.168.1.0/24(office network) - Destination:
192.168.2.0/24(server network) - Destination Port:
80,443(HTTP and HTTPS) - Source VI: Select the Virtual Interface for the office network
- Destination VI: Select the Virtual Interface for the server network
Block traffic from untrusted segment
To prevent traffic from an untrusted network segment to a private segment:- Name:
Block-Untrusted-to-Private - Priority:
50(higher priority to ensure it’s checked first) - Action: Block
- Protocol:
Any - Source:
192.168.100.0/24(untrusted segment) - Destination:
192.168.10.0/24(private segment)
Allow SSH access between specific segments
To allow SSH access from a specific network segment to another:- Name:
Allow-SSH-Management-to-Servers - Priority:
100 - Action: Allow
- Protocol:
TCP - Source:
10.0.1.0/24(management network) - Destination:
10.0.2.0/24(server network) - Destination Port:
22(SSH)
Restrict database access
To restrict database access to only specific application servers:- Name:
Allow-DB-Access-From-Apps - Priority:
100 - Action: Allow
- Protocol:
TCP - Source:
192.168.50.0/24(application server network) - Destination:
192.168.60.0/24(database network) - Destination Port:
3306(MySQL) or5432(PostgreSQL)
Best practices
- Start with restrictive rules: Begin with deny-all rules and only permit what you need
- Use descriptive names: Name your rules clearly so you can understand their purpose later
- Set appropriate priorities: Use lower priority numbers for more specific rules that should be checked first
- Document with descriptions: Use the description field to explain why a rule exists
- Test incrementally: Add rules one at a time and test to ensure they work as expected
- Regular review: Periodically review your firewall rules to remove unused or outdated configurations
- Use IP Groups: For frequently referenced IP ranges, create IP Groups to simplify rule management
Troubleshooting
If your firewall rules aren’t working as expected:- Check rule priority: Ensure your rule has an appropriate priority and isn’t being overridden by another rule
- Verify Virtual Interfaces: Confirm you’ve selected the correct Source VI and Destination VI for the traffic path
- Review all conditions: Remember that all conditions in a rule must match (logical AND)
- Check Admin State: Ensure the rule is enabled
- Verify IP addresses: Confirm the Source and Destination IP prefixes match your network configuration
- Test with specific IPs: Start with specific source/destination IPs before using broad ranges
- Check protocol and ports: Verify that the Protocol and Port settings match the actual traffic you’re trying to control
Related documentation
- DIA Firewall Rules - Configure firewall rules for internet traffic
- Groups - Create IP Groups for firewall rule management